8 min read
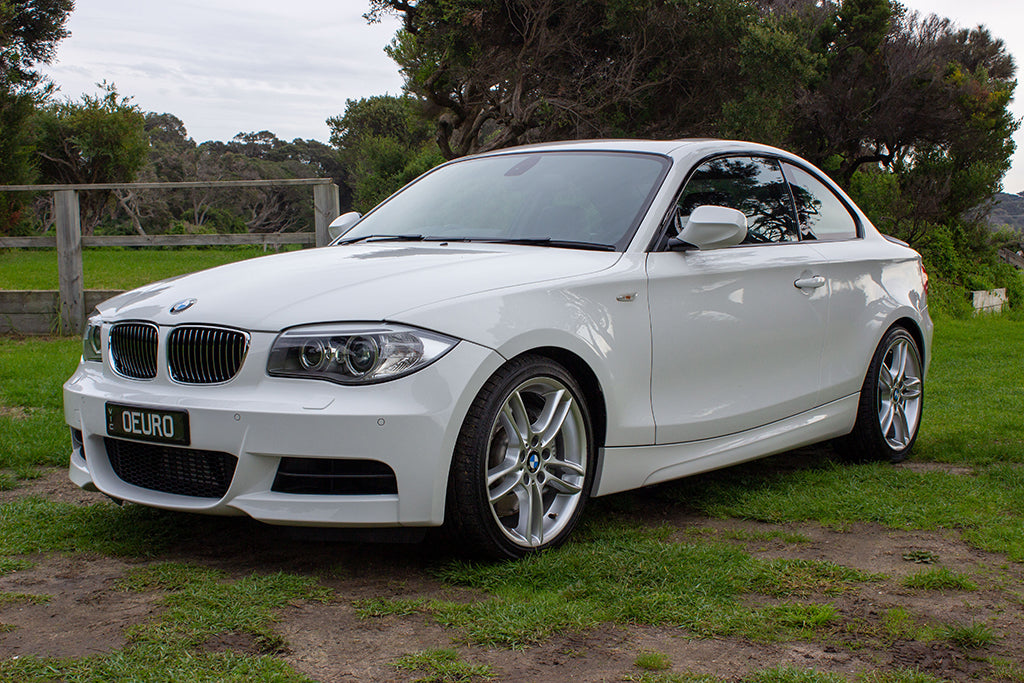
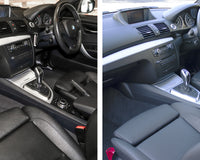
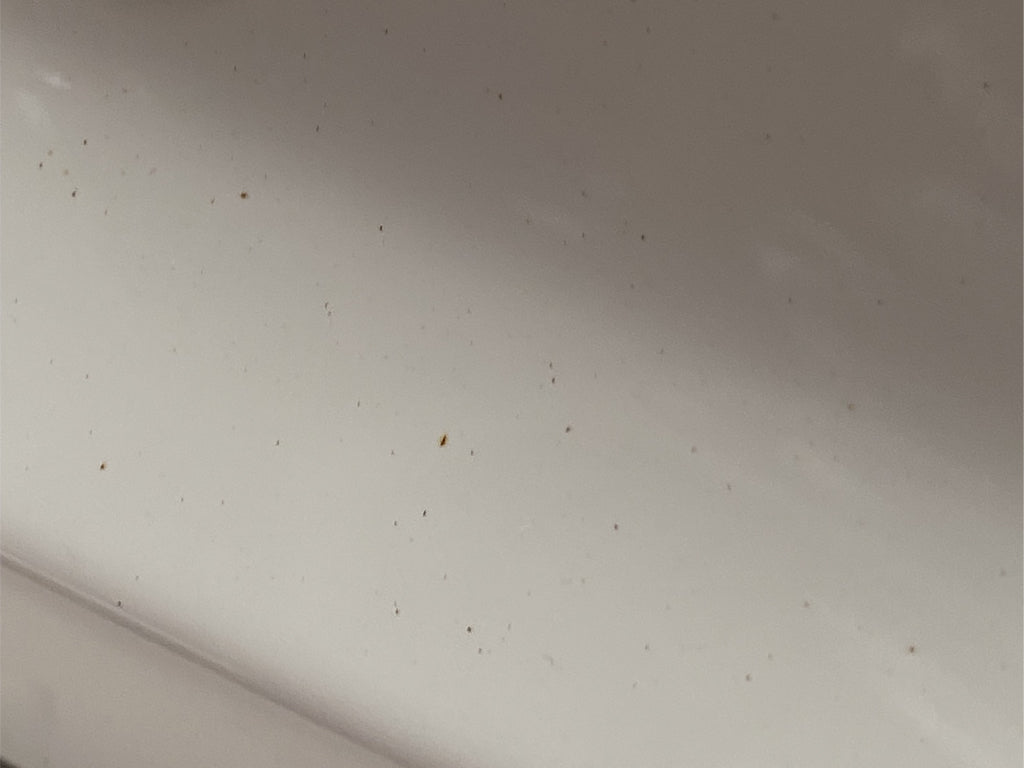
In this blog post I go over the paint correction process needed to get the 135’s paint back to A1 condition. First off, I started by assessing the paint to see what condition it’s in so I can make a game plan. The paint is in good condition but unfortunately has been neglected over time. Improper washing has resulted in light swirls and switches; luckily very few scratches might need heavy compounding. The paint is also highly contaminated with iron fallout and needs chemical decontamination and clay barring to effectively remove the contaminants before correcting. Removing the contaminants is one of the most important steps; if they are not removed properly, they can become dislodged and caught up in the polisher pad, and could induce scratches into the paint, very counterproductive.
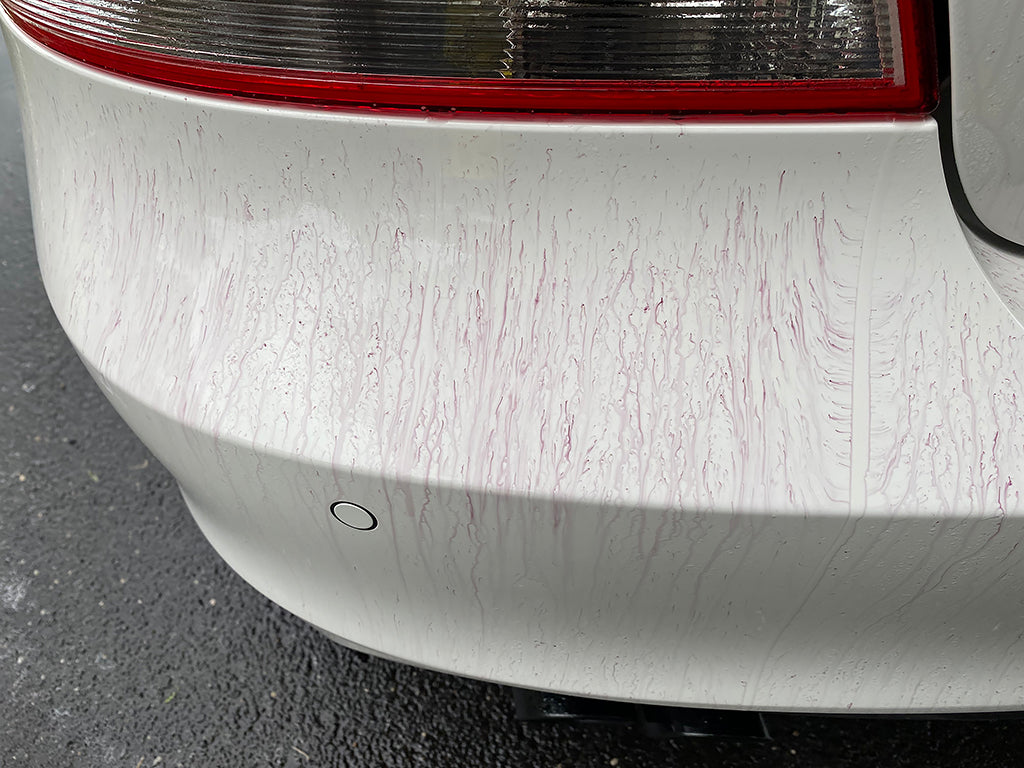
To remove any loose dirt and debris I am starting with a prewash. I coat the car with a thick layer of snow foam and allow it to soak in and draw down the dirt. I used one of the best foam cannons for super thick foam, the MJJC Foam Cannon Pro V2. At the same time the pre-wash was soaking, I used a soft bristle detailing brush to lightly agitate all the nooks and crannies, window trims, sunroof gaps, and around the badges to remove any built-up grime. After rinsing off the pre-wash, the next step is the contact wash. To remove any previous sealants and wax, I use a two-bucket wash method with Chemical Guys Clean Slate. When washing with the intension of removing previous coatings, I strongly recommend avoiding anything that is not specifically designed for automotive use, as it can damage rubber seals and plastic trim. To tackle the iron fallout, I used Gyeon Iron. The main ingredient in iron removers is neutralised acid-salt. Iron removers work by chemical reaction that turns the iron oxide to iron, and the result changes the shape and structure, making it loose with the surface and easier to remove.
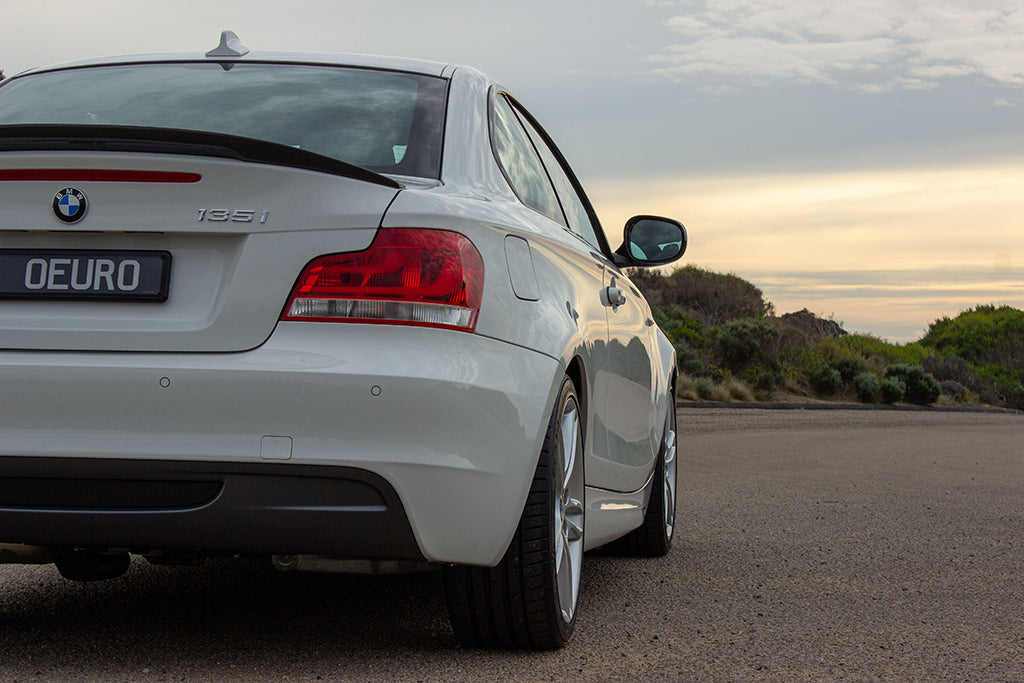
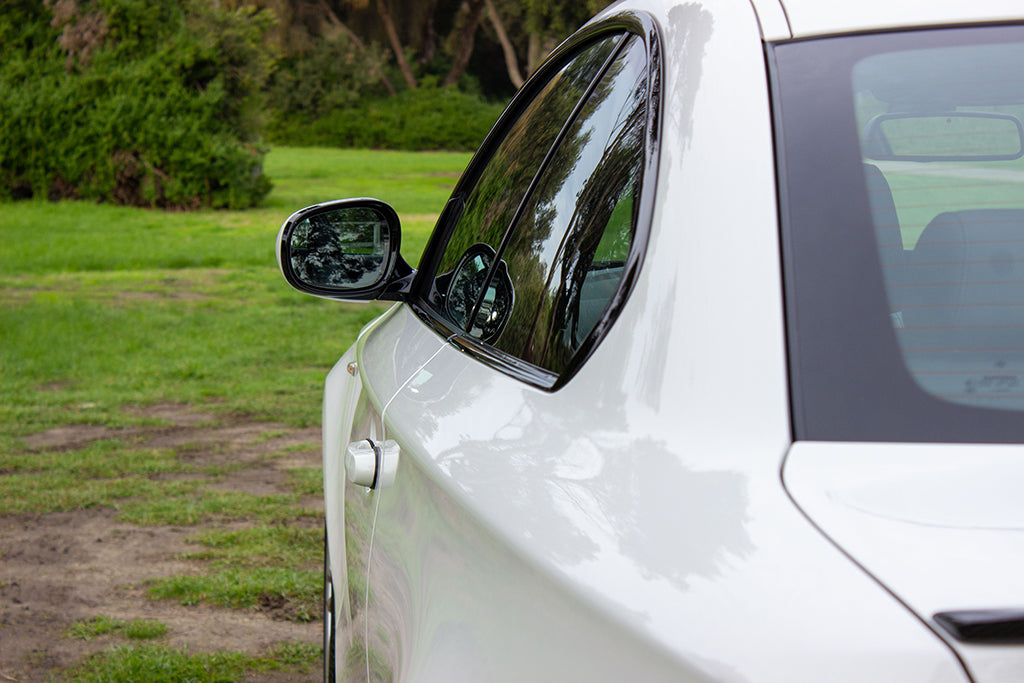
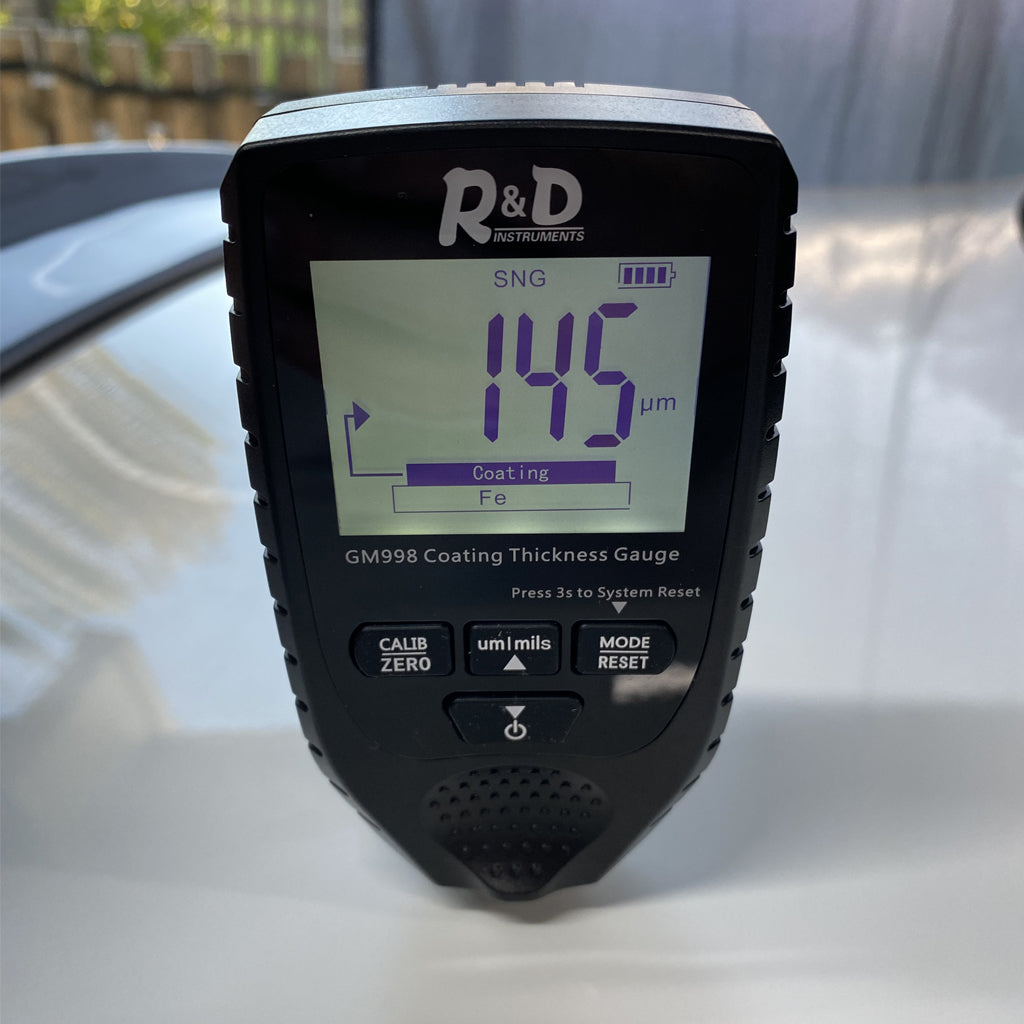
With the paint cleaned and chemically decontaminated it’s time to clay bar the surface to remove any contaminants that have not been removed by the previous steps. Assessing the paint, contaminants can still easily be seen, and the paint surface is rough to touch, so onto clay barring. I used a medium grade clay bar for most of the paint, but had to bump it up to a heavy grade for the rear bumper and boot lid that where more heavily contaminated. Generously using clay lubricant and a bit of elbow grease, the entire car has been clay barred and the paint is completely naked, contaminate free and ready for correction. A final wipe over with Isopropyl Alcohol (IPA) will remove any remaining clay lubricant, and leave a clean surface for the next step, compounding. But before jumping straight into the fun stuff, I need to measure the paint and get an idea of what I’m working with. To get an idea of the minimum paint thickness I check the door jamb; it’s very common that most cars will have a thinner coating of paint in the door jambs. Knowing this gives you a gauge of how much total paint and clear coat is left to work with. To get an average paint thickness for the body panels, I measure five points per panel. Our E82 1 series door jamb paint thickness is an average of 116 microns, and the average of all body panels is 157 microns.
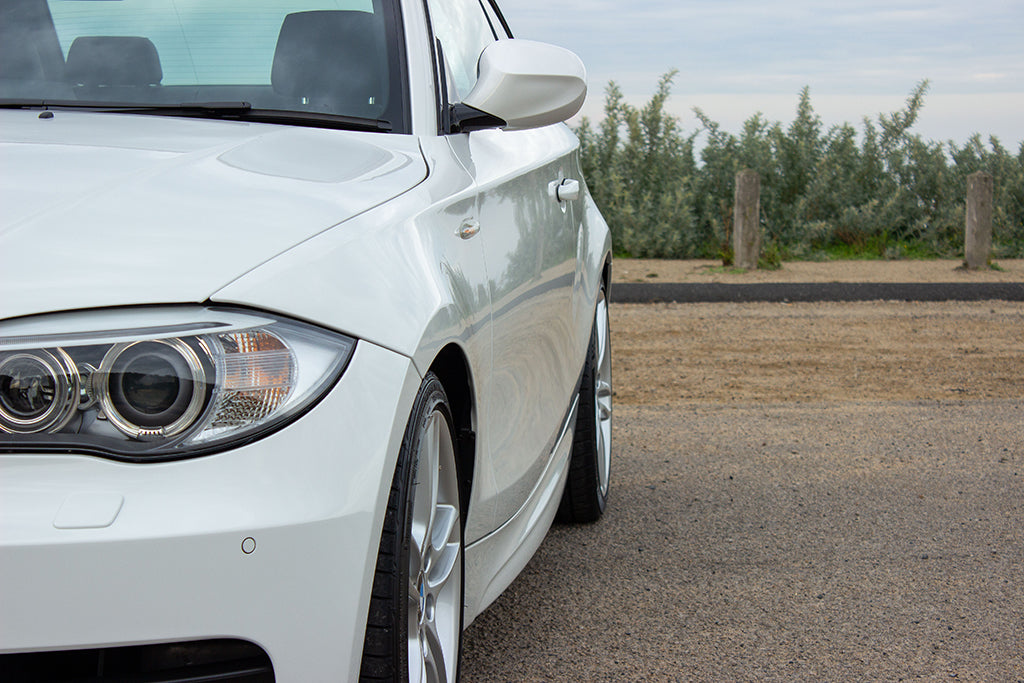
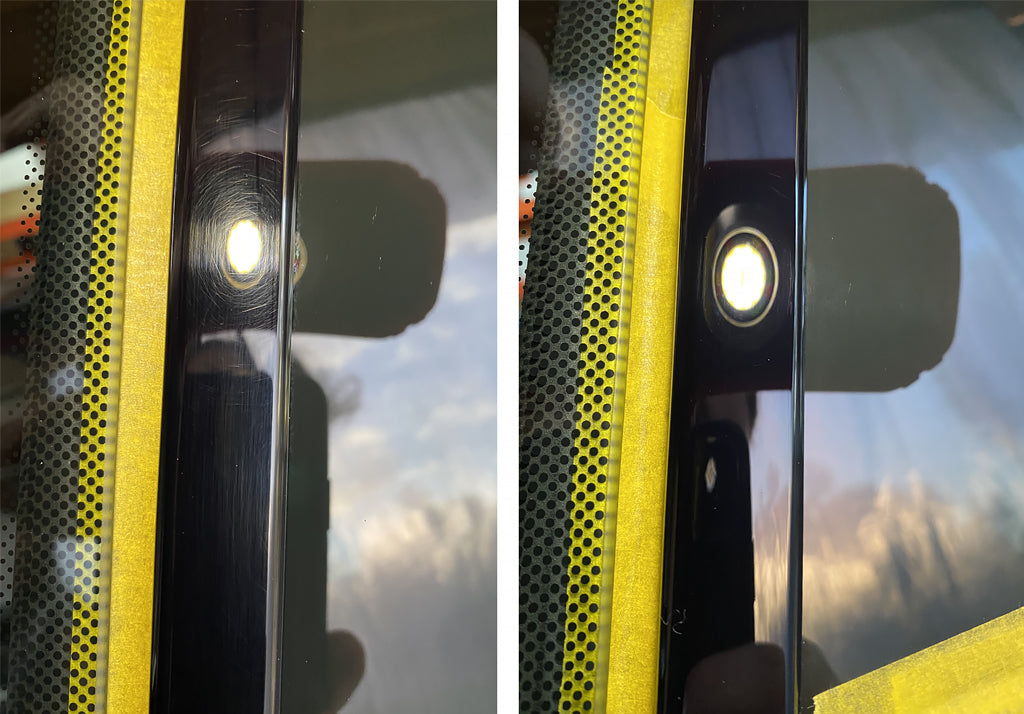
Knowing the paint thickness, we can move forward with a ‘test spot’ to determine what is required to correct the paint to the quality of finish I am aiming for. A test spot is a great way to start with the least aggressive cutting pad and compound combination and increase if needed. Machine speeds and amounts of product used can have different cutting rates. Faster machine speeds will cut more than slower speeds and more cutting compound used on the pad will cut at a higher rate. As you can tell, there are a lot of variables to achieve a desired result. There’s no need to remove more paint than necessary; the original paint is only original once and it is only so thick. Although it would be great to have perfect paint, the goal isn’t perfection; it’s just not obtainable on a used car with factory paint, but we can always make it better than before. If I can remove 95% of the scratches, the result will be amazing, without removing an excessive amount of paint. After trying several combinations of foam pads, microfibre pads, machine speeds, and amounts of product, the combo I ended up with was Menzerna Heavy Cut Compound (same product as Jescar Correcting Compound) with a Meguiar's microfibre cutting disc. Paint correction is a very labour-intensive process and something that cannot be rushed. Splitting up the workload over several days, I lost track of hours, but would guess I spent over 12 hours on the correction step. A labour of love!
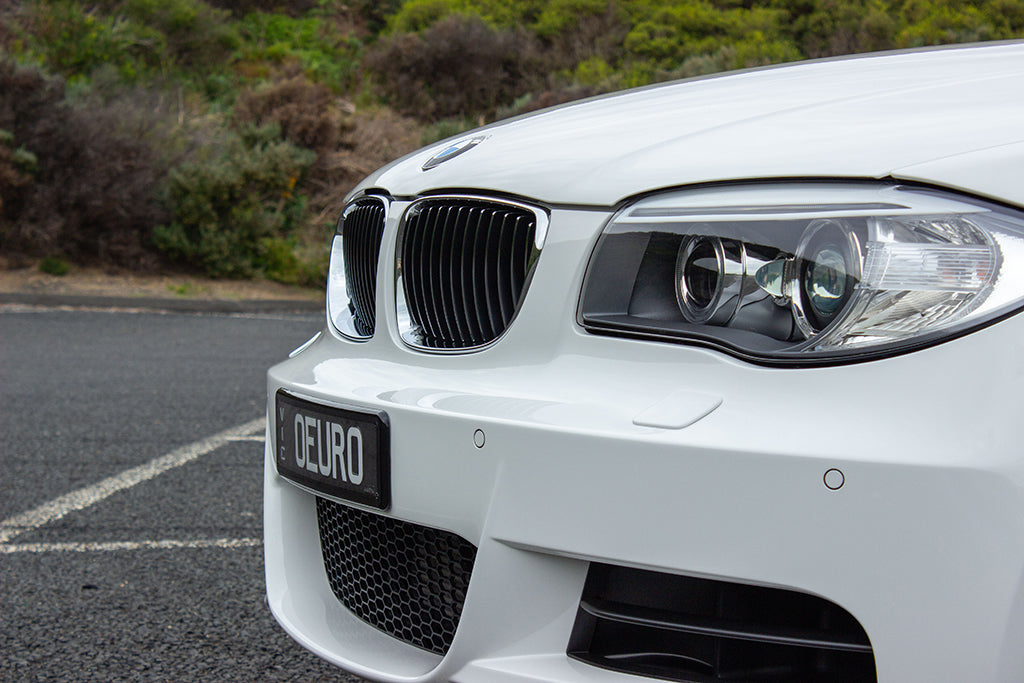
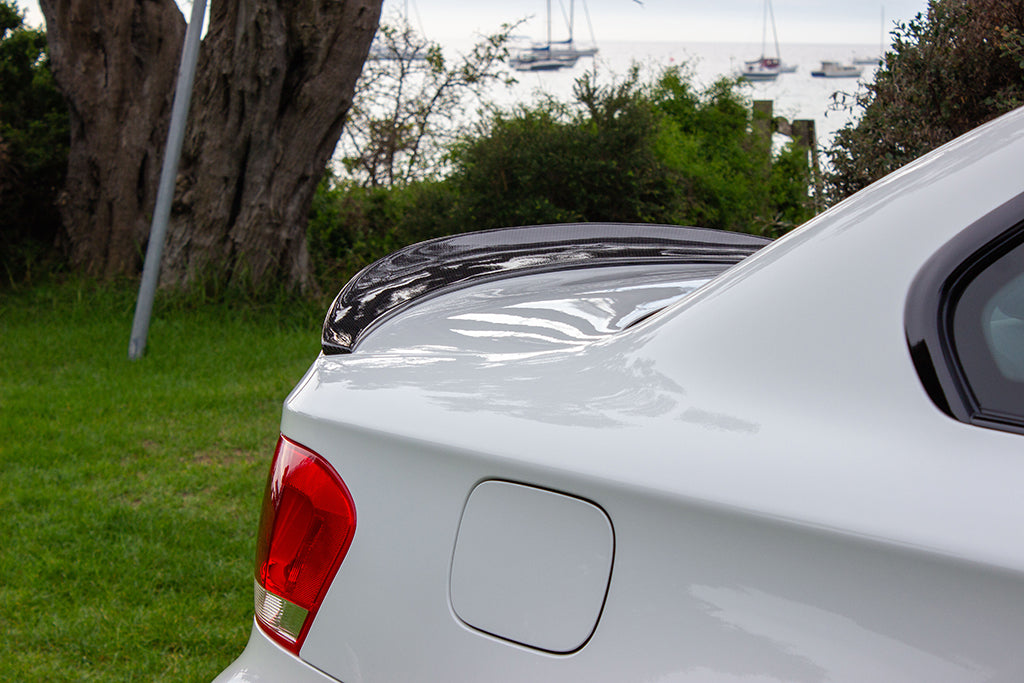
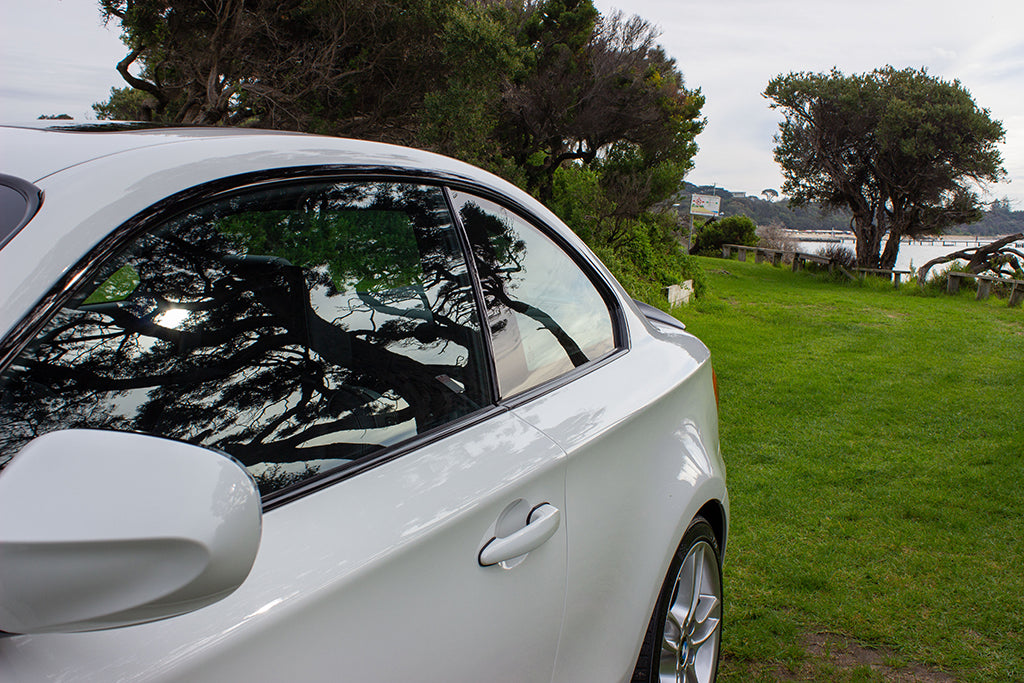
The second step in the two-step paint correction process is polishing. Before starting the polishing step, I wiped over the paint with IPA; this is important as it will remove any of the compound that might be left behind. The polishing step refines the surface; if all the compound isn’t removed it could work against the polish. For me, polishing is the most satisfying step; it brings out the clarity of all the hard work done in the correcting step. After using both foam discs and microfibre polishing pads, I much prefer the finish and feel of microfibre. For the polishing step, the combo that I ended up using was a Meguiar's microfibre finish disc with SONAX Perfect Finish. With the paint polished it’s onto some of the finer detail work. BMW “shadow line”, or more simply known as gloss black trim gets scratched extremely easily, but in saying that its extremely easy to remove the scratches. I have found on BMW’s compounding isn’t needed and you can get away with just using polish. Using a foam pad with Perfect Finish I tediously polish all the trim. This step was most satisfying; the before and after difference is more dramatic with the darker colours. A quick polish of the glass finishes of the correction process.
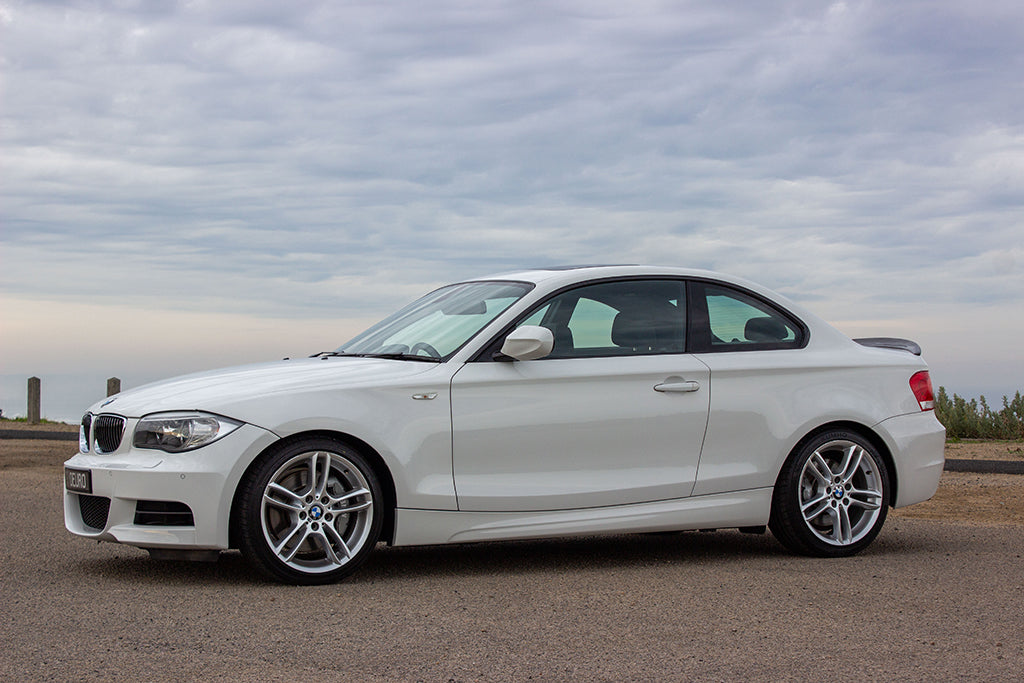
Ceramic coating seems to be all the rage these days! There were a few factors that came into play when I was deciding what coating to use. The 135 won’t be driven much and stored indoors; something like ceramic coating in a paint protection aspect is just not needed in this case. Ceramic coatings can give a great high gloss finish, but I much prefer a warmer glow. I feel a warmer glow brings out the body lines more, especially with a lighter coloured car. Coating with a sealant and wax is the game plan, the sealant will protect the paint if the wax wears away, and if I decide to switch up the coating, unlike ceramic no machine polishing will be needed to remove and start fresh. In general terms, most sealants will last 6-12 months and wax 1-3, saying that the coatings should last a lot longer due to the conditions the car will be stored in and it's limited driving. A coat of Chemical Guys Jetseal and Butter Wet Wax is the combo I have chosen. A cool fact, Jetseal was originally developed for airplanes! After coating the paint, glass, trim and lights with Jetseal I left the sealant to cure overnight. I finished up the next day with a coating of wax, stood back, and enjoyed. I have to say paint correction can be a tedious job, but when you see the result, all is forgotten!