5 min read
The interior of the 135 isn't in that bad of a state, but with all my cars everything must get a thorough once over with a “seats out” detail. Not only does it give me peace of mind knowing what condition the car is in, it also makes it a lot easier to maintain in the future. The plan is to give every surface a once over, coat the trim and condition the leather. My go-to interior cleaner is Chemical Guys Nonsense as its colourless and odourless but has enough strength to clean thoroughly and still be safe to use on sensitive trim. It can also be diluted with distilled water to any ratio desired. 10:1 gets most interior surfaces clean.
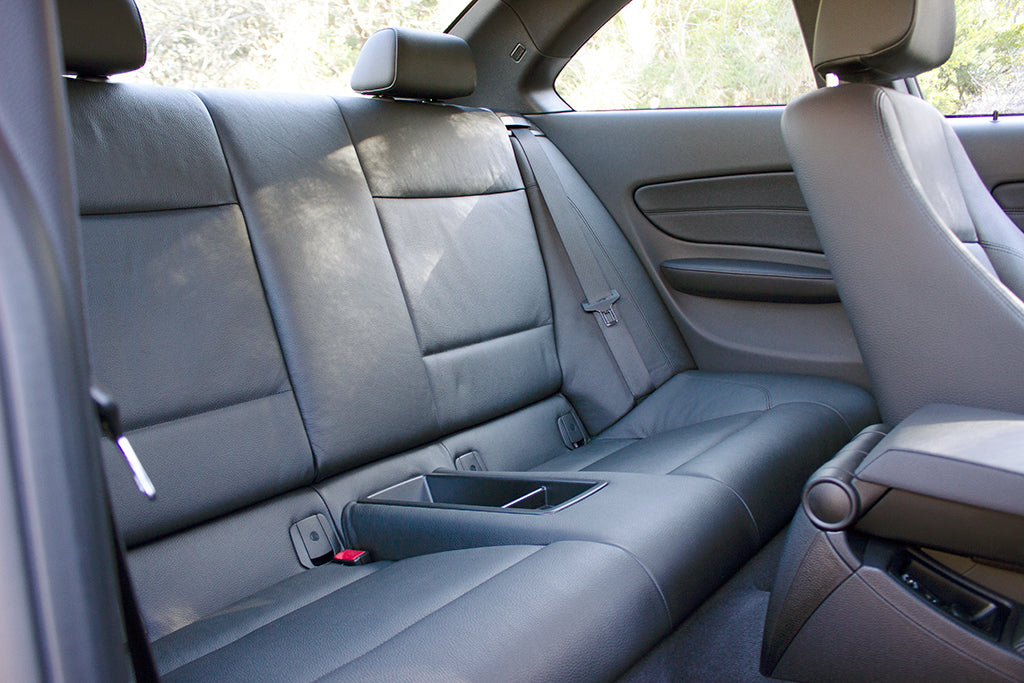
Just like when washing the outside of a car, top to bottom is also a preferred order for the interior, starting with the roof lining. The 135 was optioned with an Anthracite (black) roof lining and has a few scuff marks that were easily removed. The pillar trims and parcel shelf also just needed a light clean to bring back to new condition.
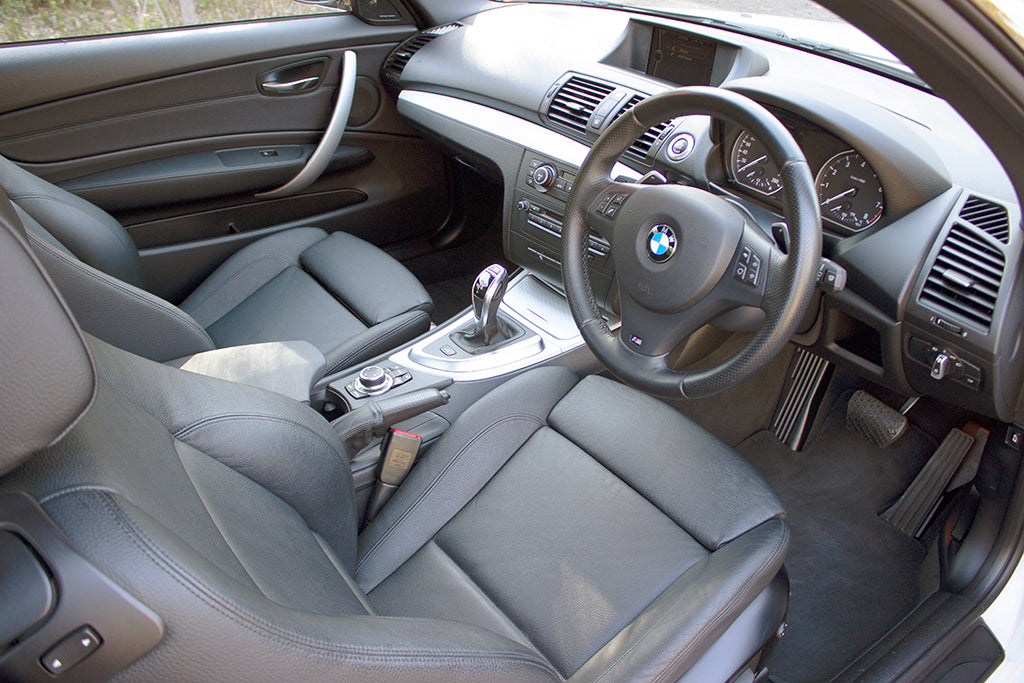
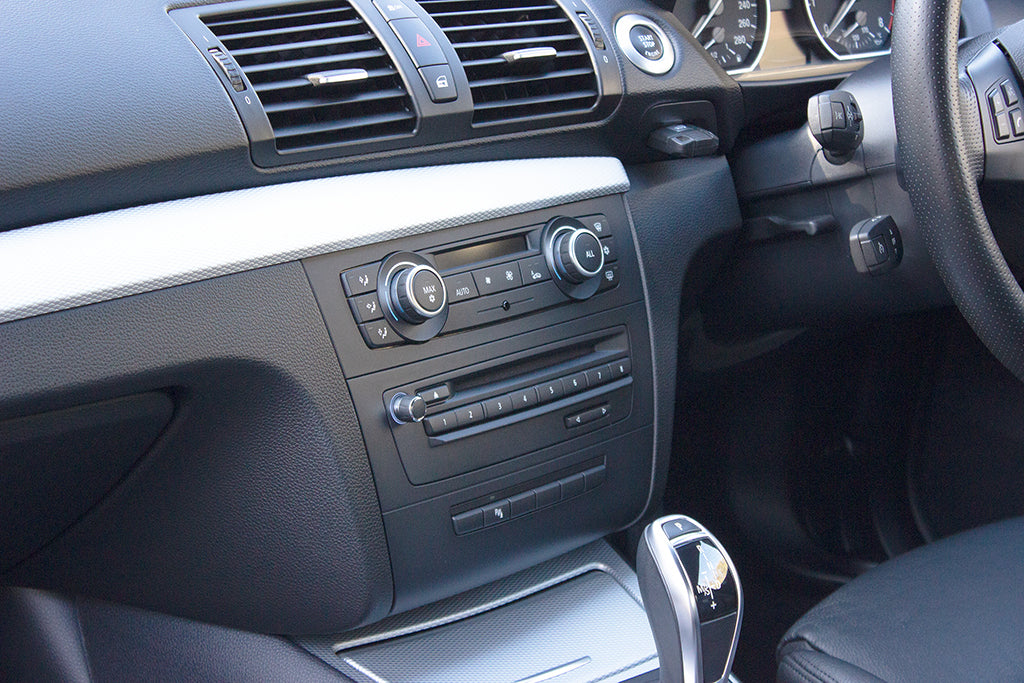
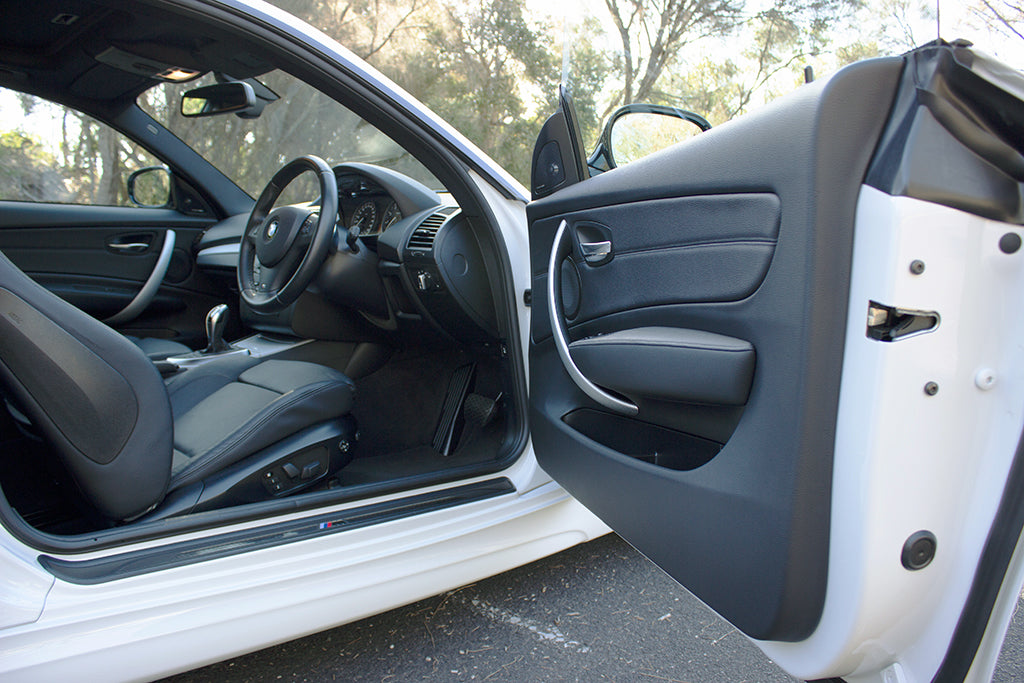
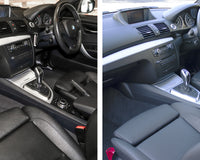
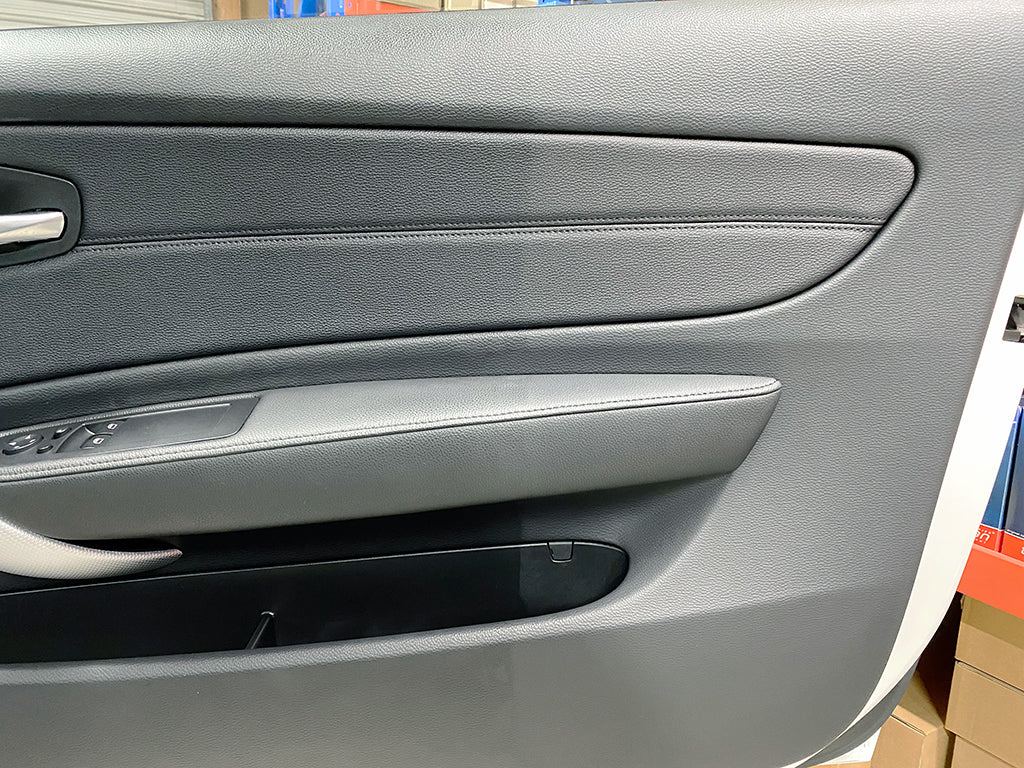
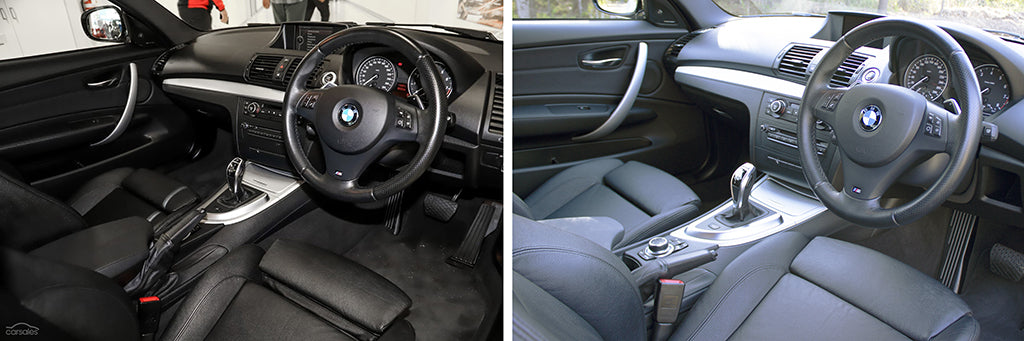
In the introduction blog to the 135 project I mention the overly generous layer of Amor All that had been applied to all the trim. Starting with a test spot I tried Nonsense on a microfibre towel, it would have taken a few passes with a strong dilution to completely remove all the previous trim coating with this method. Light agitation with a brush will get Nonsense to foam and lift contaminants much easier. I used a soft detailing brush from The Rag Company to lightly work the surface, then a final pass with a dry microfibre towel to remove everything that was lifted from the surface. Looks like I will have to hit all surfaces with this method. Starting with the dash, centre console, arm rest, then moving to the door trims. You can see in the photo below the before and after result highlights the difference from an oily coating to the OE finish.
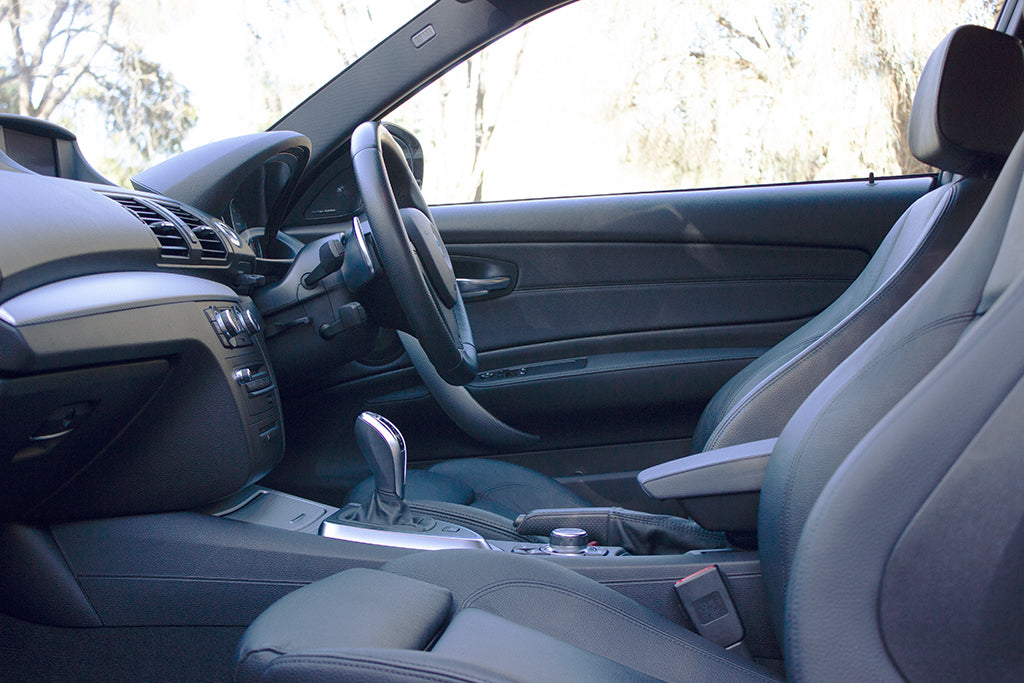
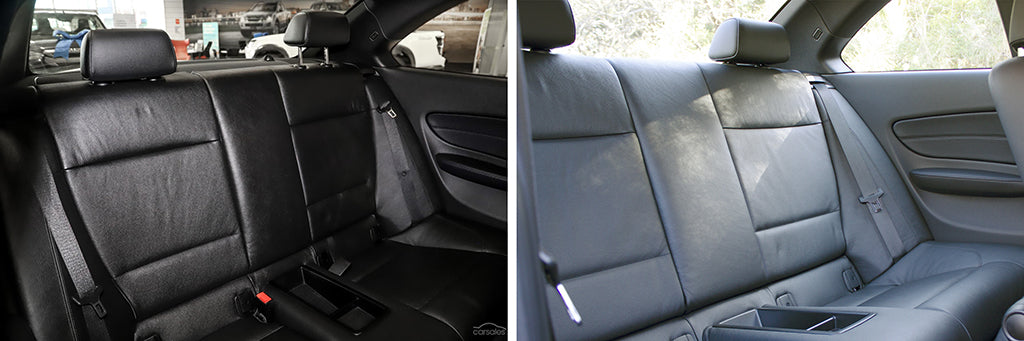
Removing E82 front seats is much the same as most BMW’s, 4 bolts, and 1 electrical plug. Be sure to disconnect the battery negative lead to avoid any damage to the airbag module or pyrotechnical seat belt tensioner! With the seats out and on a bench, the same approach previously used with the trim was taken; start with the least aggressive and increase if needed. Both the microfibre towel and soft detailing brush with Nonsense diluted 5:1 didn’t clean enough to remove the years of body oil and coating that had been applied. It did work but only removed about 80% with 2 passes. My next method is not something I would advise you to do very often, maybe once every 10 or so years. I say this as it is abrasive and if not used with extreme care it could damage the factory polymer coating that is very thin, and shouldn’t be cleaned with harsh cleaners. To restore BMW leather back to OE finish, I used a Mr. Clean Magic Eraser, once all the seats were cleaned, I worked in Connolly Hide Care to protect the leather. Connolly is a 140-year-old British leather company that supplied leather to Rolls Royce, Bentley, Jaguar, and Aston Martin. Their hide care is an amazing product, previously called hide food, and as the old name suggests, it feeds the leather. However, with modern automotive leather, I don’t believe any leather products can penetrate the coating and make its way into the actual leather. As a coating it still works great as it maintains the OE matte finish even with 2 coats. The same method was used for the steering wheel.
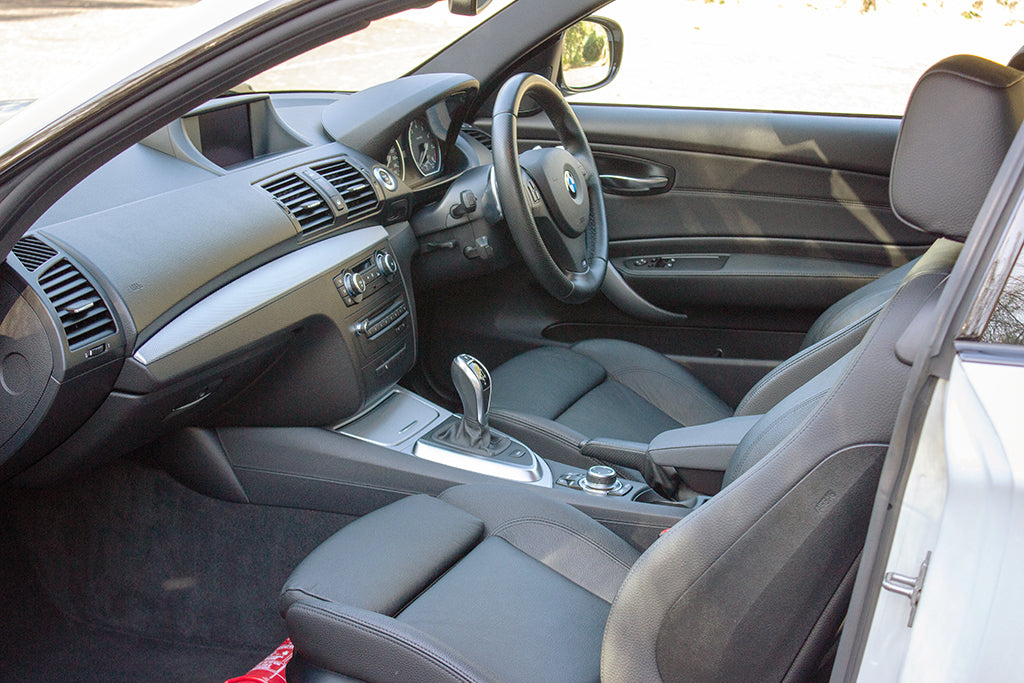
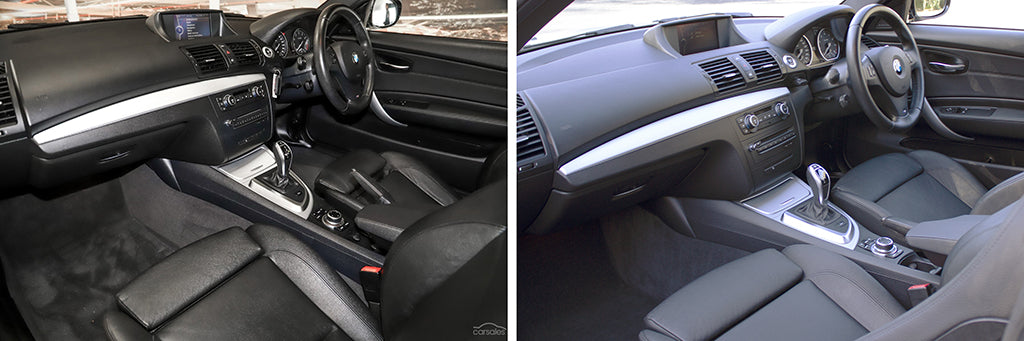
Below you can see the before and after result. Admittedly the lighting conditions are different, but the in-person result is just as dramatic.
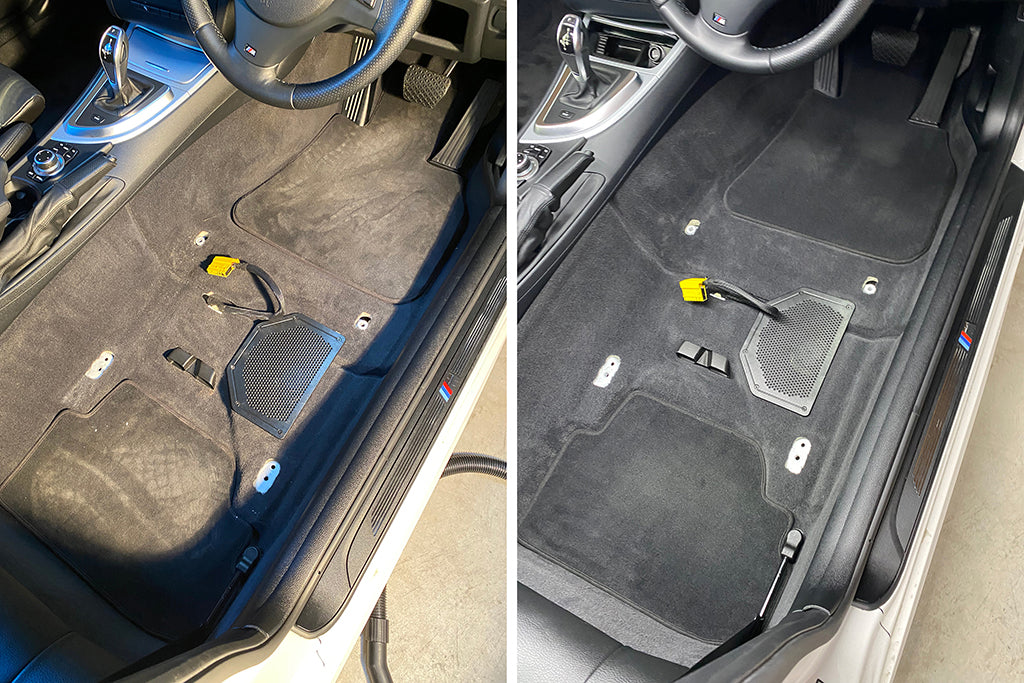
In the end, a bit of elbow grease was all that was needed to bring the 135 back to the condition it should be in. There's no reason such a low kilometre car shouldn’t be looking like it was back in 2011.
Comment below what you prefer, a shiny coated interior or the OE matte finish?
The Final Result