A must for every service inspection and a commonly overlooked item. The cabin filter, also known as the microfilter helps reduces dust particles and dirt entering the cabin of your car. It also plays an important role by protecting the blower motor, heater core and other HVAC system components from contamination. Clean the air that enters your cabin by changing the fresh air cabin microfilter.
Suitable Models and Years:
BMW 1 Series E82 Coupé (2006 - 2013)
BMW 1 Series E87 Hatchback 5 doors (2003 - 2011)
BMW 1 Series E88 Convertible (2006 - 2013)
BMW 3 Series E90 Sedan (2004 - 2011)
BMW 3 Series E91 Touring (2004 - 2012)
BMW 3 Series E92 Coupé (2005 - 2013)
BMW 3 Series E93 Convertible (2005 - 2013)
BMW X1 E84 SAV (2008 - 2015)
How often should I replace a cabin filter in a BMW E82 E84 E87 E88 E90 E91 E92?
The cabin filter service interval is flexible and dependent on the operating conditions. BMW recommend replacing after 2 years at the latest. We recommend every year or 10,000 km (whichever comes first).
How long will it take to replace a cabin filter in a BMW E82 E84 E87 E88 E90 E91 E92 E93?
< 10 Minutes
Is it easy to replace a cabin filter in a BMW E82 E84 E87 E88 E90 E91 E92 E93?
A beginner with basic automotive knowledge can replace a cabin filter.
What tools are needed to replace a cabin filter in a BMW E82 E84 E87 E88 E90 E91 E92 E93?
- Ratchet
- 8 mm socket
- Microfibre towel (optional)
Parts needed to replace a cabin filter in a BMW E82 E84 E87 E88 E90 E91 E92 E93
BMW Cabin Filter - Premium charcoal filter
Or
BMW Cabin Filter - Budget friendly standard filter
Extra Information
Tip: When the cabin filter is removed thoroughly clean housing and remove any loose dirt and debris.
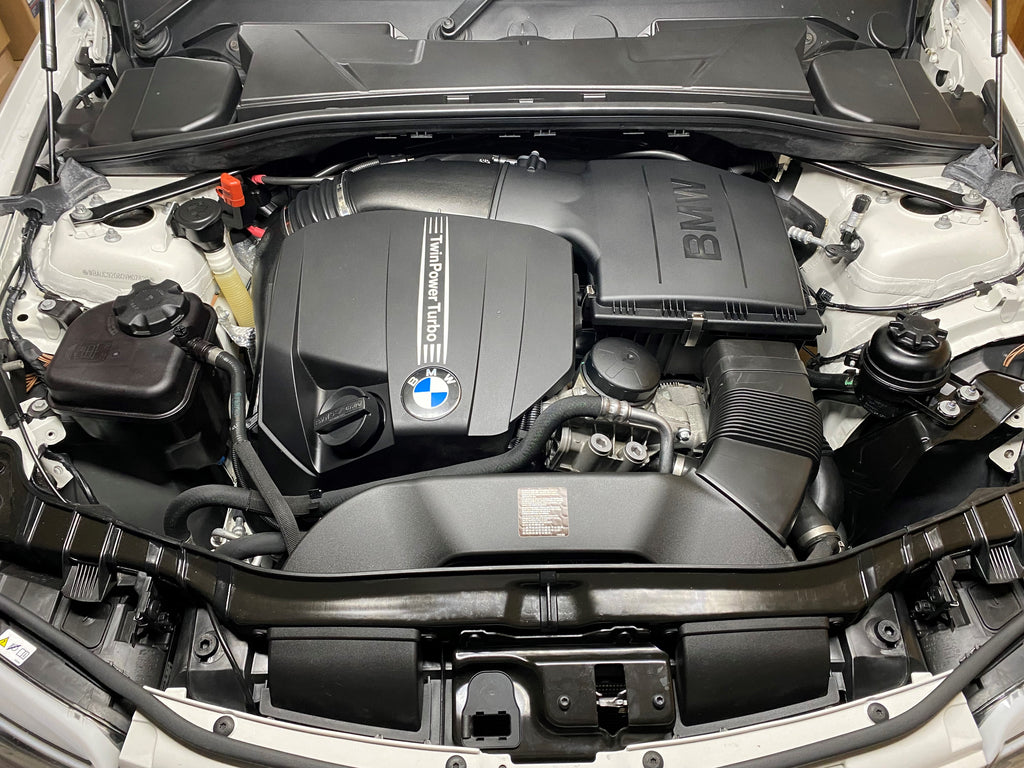
Note: Example shown on E82
Warning: Risk of damage! Air conditioning must not be operated without the cabin filter.
Also known as: Microfilter
Instructions to replace a cabin filter in a BMW E82 E84 E87 E88 E90 E91 E92 E93
1. Open bonnet. If required wipe down the cabin filter housing area of any loose dirt and debris.
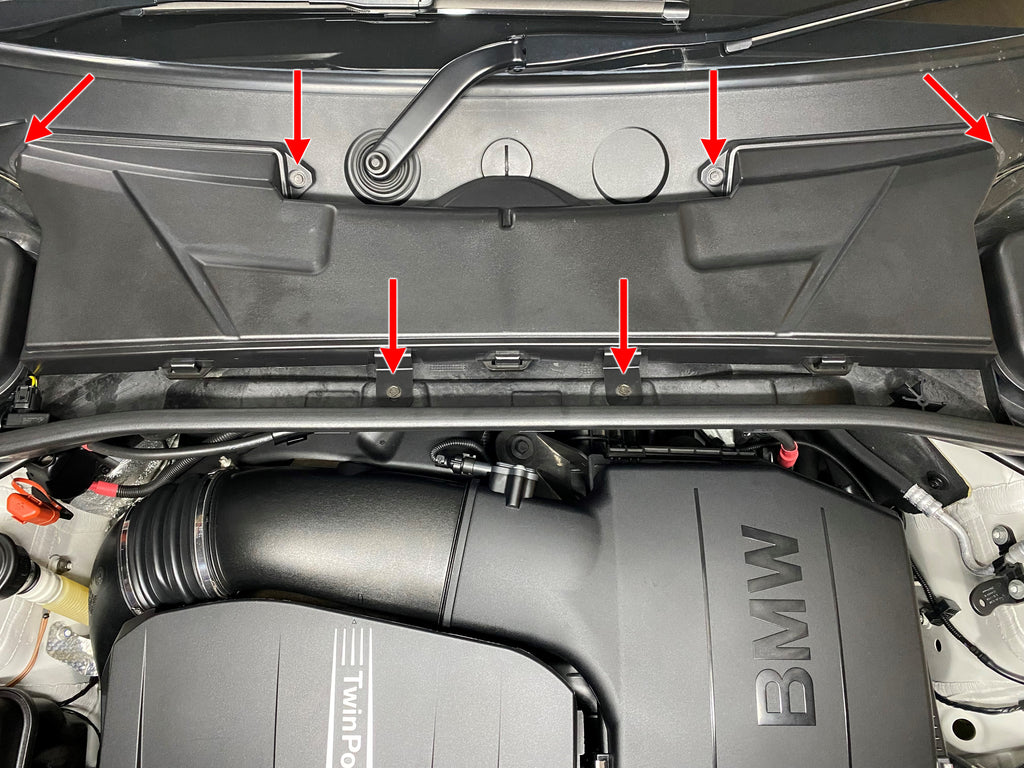
2. Remove six 8 mm screws from the upper cabin filter housing. Red arrows shown in the image below.
3. Lift up and remove the upper section of the cabin filter housing.
4. Flip over the upper section of the cabin filter housing to reveal the filter.
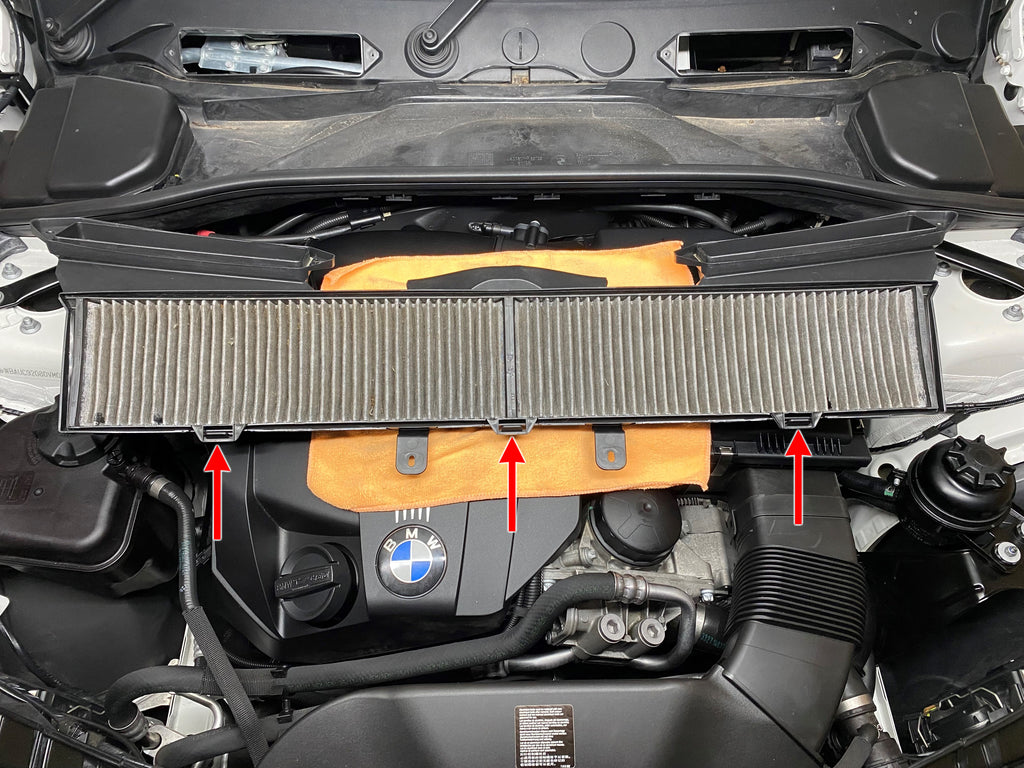
5. Release the 3 tabs from the front of the cabin filter. Red arrows shown in the image below.
6. Lift up from the 3 tabs and remove the cabin filter.
7. Install the new cabin filter in the reverse order. Make sure the 3 tabs snap into place.
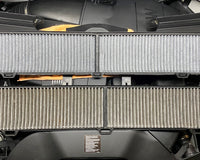
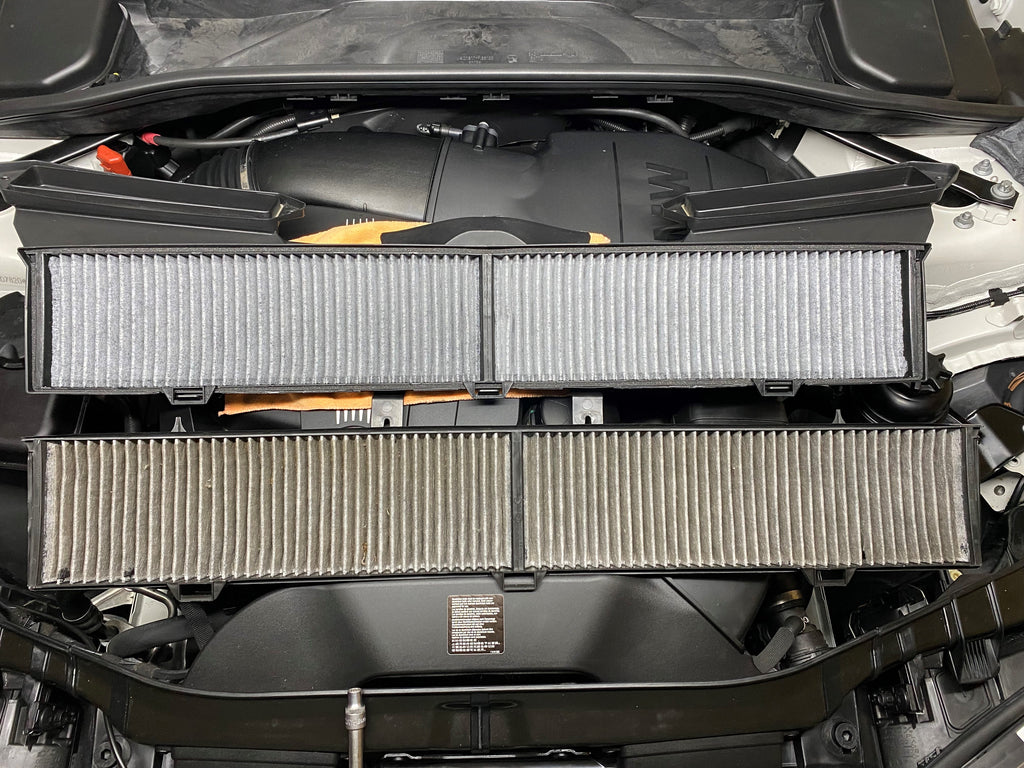
In the example shown below the last filter change was 2 years and 7,500 km ago.
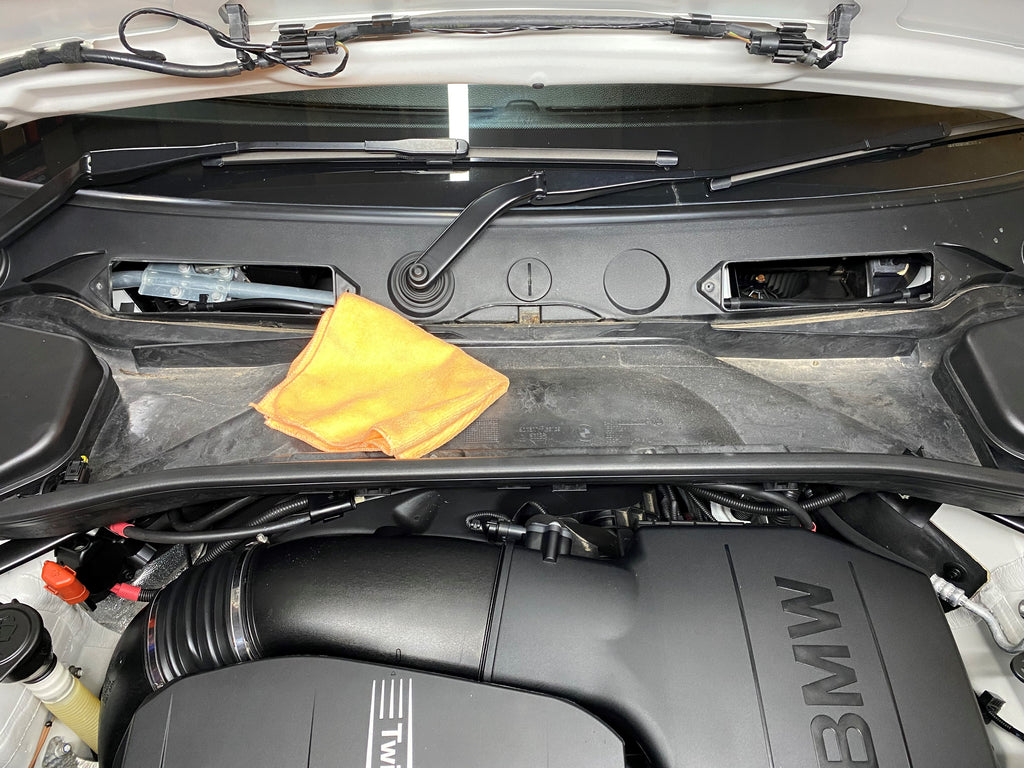
8. If required clean the cabin filter housing area of any loose dirt and debris.
9. Reinstall the upper cabin filter housing in the reverse order.
10. Reinstall the six 8 mm screws.
